DPI Changer - Change Image DPI to 300, 600 or Any Value Online
Set the DPI of a JPG or PNG by rewriting the file's metadata tag. Your pixels are copied through untouched, so nothing is re-compressed. Everything runs entirely in your browser.
Drag & Drop your images here
or
Import from your computer, a public URL, Google Drive, or Dropbox.
JPG and PNG only - up to 100MB per file, 100 files per batch
Whole numbers only. Values above 4000 are clamped, because no print device resolves beyond that and the tag stops being meaningful.
DPI is a divisor print software uses to work out physical size: print size = pixels divided by DPI. Changing it rewrites a metadata tag, so your pixels are not touched and nothing is re-compressed. Your image will look exactly the same on screen. If you need more pixels for a larger print, use the Image Resizer instead - it cannot invent detail either, but it is the right tool for changing pixel counts. To read the DPI of a file without changing it, use the DPI Checker.
DPI is a print-size tag. Your image pixels are copied through untouched, so nothing is re-compressed and no quality is lost. On screen the image will look identical - that is correct behaviour, not a failed conversion. Every output file is byte-identical to the file you supplied except for the metadata header.
A JPG can carry its resolution in up to three places at once: the JFIF header, the EXIF tags, and Photoshop's own resolution block. Photoshop and many print RIPs read EXIF before JFIF, so a tool that updates only one of them leaves the others stale and the file still opens at the old DPI. Every location your file actually carries is updated, and if one of them cannot be located safely it is left untouched and said so in that file's row rather than guessed at. PNG carries its resolution in the pHYs chunk, which is added if the file does not already have one.
DPI does not add detail. Setting 300 DPI on a small image does not make it print well, it makes it print small. Browsers and most screen viewers ignore DPI entirely, while Word, Photoshop, InDesign and print drivers honour it. JPG and PNG are the only formats here that carry a reliable DPI tag - WebP does not, so convert it to JPG or PNG first. Government forms and exam portals change their DPI requirements per cycle and per portal, and we are not affiliated with any of them, so always verify the current official notification before submitting.
Everything is processed locally in your browser. Nothing is uploaded to our servers.
This DPI changer sets the DPI of a JPG or PNG to 300, 600, or any value you need, without touching a single pixel. DPI lives in the file's metadata header, not in the image data, so changing it is byte surgery on the header rather than a re-encode. Your photo is never decoded to a canvas and re-compressed, which means the pixel data that comes out is bit-for-bit identical to what went in. Most online DPI tools cannot say that.
Set 300 DPI for print submissions, 600 for fine art and archival work, or 72 and 96 for screen-era defaults. If your file needs more pixels rather than a different print-size tag, the Image Resizer is the right tool, and the DPI Checker reads a file's current DPI without changing anything. For file-size targets use Resize to KB or Compress JPG, and for framing use Crop Image or Aspect Ratio. Everything runs in your browser, so no image is ever uploaded to a server.
No Canvas, No Re-encode
Your file is read as raw bytes and the header is rewritten in place. The image is never decoded and redrawn, so nothing is re-compressed and no quality is lost.
Every DPI Location Updated
A JPG can store resolution in three places at once. All of them are written, which is why the result holds up in Photoshop and InDesign, not just in a file browser.
Live Print Size Readout
Every file shows its current print size and its new print size in both inches and millimetres, recalculated the moment you change the target DPI.
Fully Private
All byte work happens in your browser. No upload, no network call, no server storage, and it keeps working after the page has loaded.
How to Change Image DPI
Four steps, entirely in your browser. Batch up to 100 files at once and download them individually or as a single ZIP.
Add Your Images
Drag and drop, or import from your computer, a public URL, Google Drive, or Dropbox. JPG and PNG are supported.
Pick a Target DPI
Choose 72, 96, 150, 300, or 600 from the presets, or enter any whole number from 1 to 4000 in the custom field.
Check the Print Size
Each file shows what it prints at now and what it will print at after the change, in inches and millimetres.
Change and Download
Press Change DPI, then download each file or grab the whole batch as a ZIP. The status row names every tag that was written.
Same Pixels, Different Print Size
Drag across the image to compare. Both sides are the identical file with identical pixels. Only the DPI tag differs, and that changes how large the file prints.
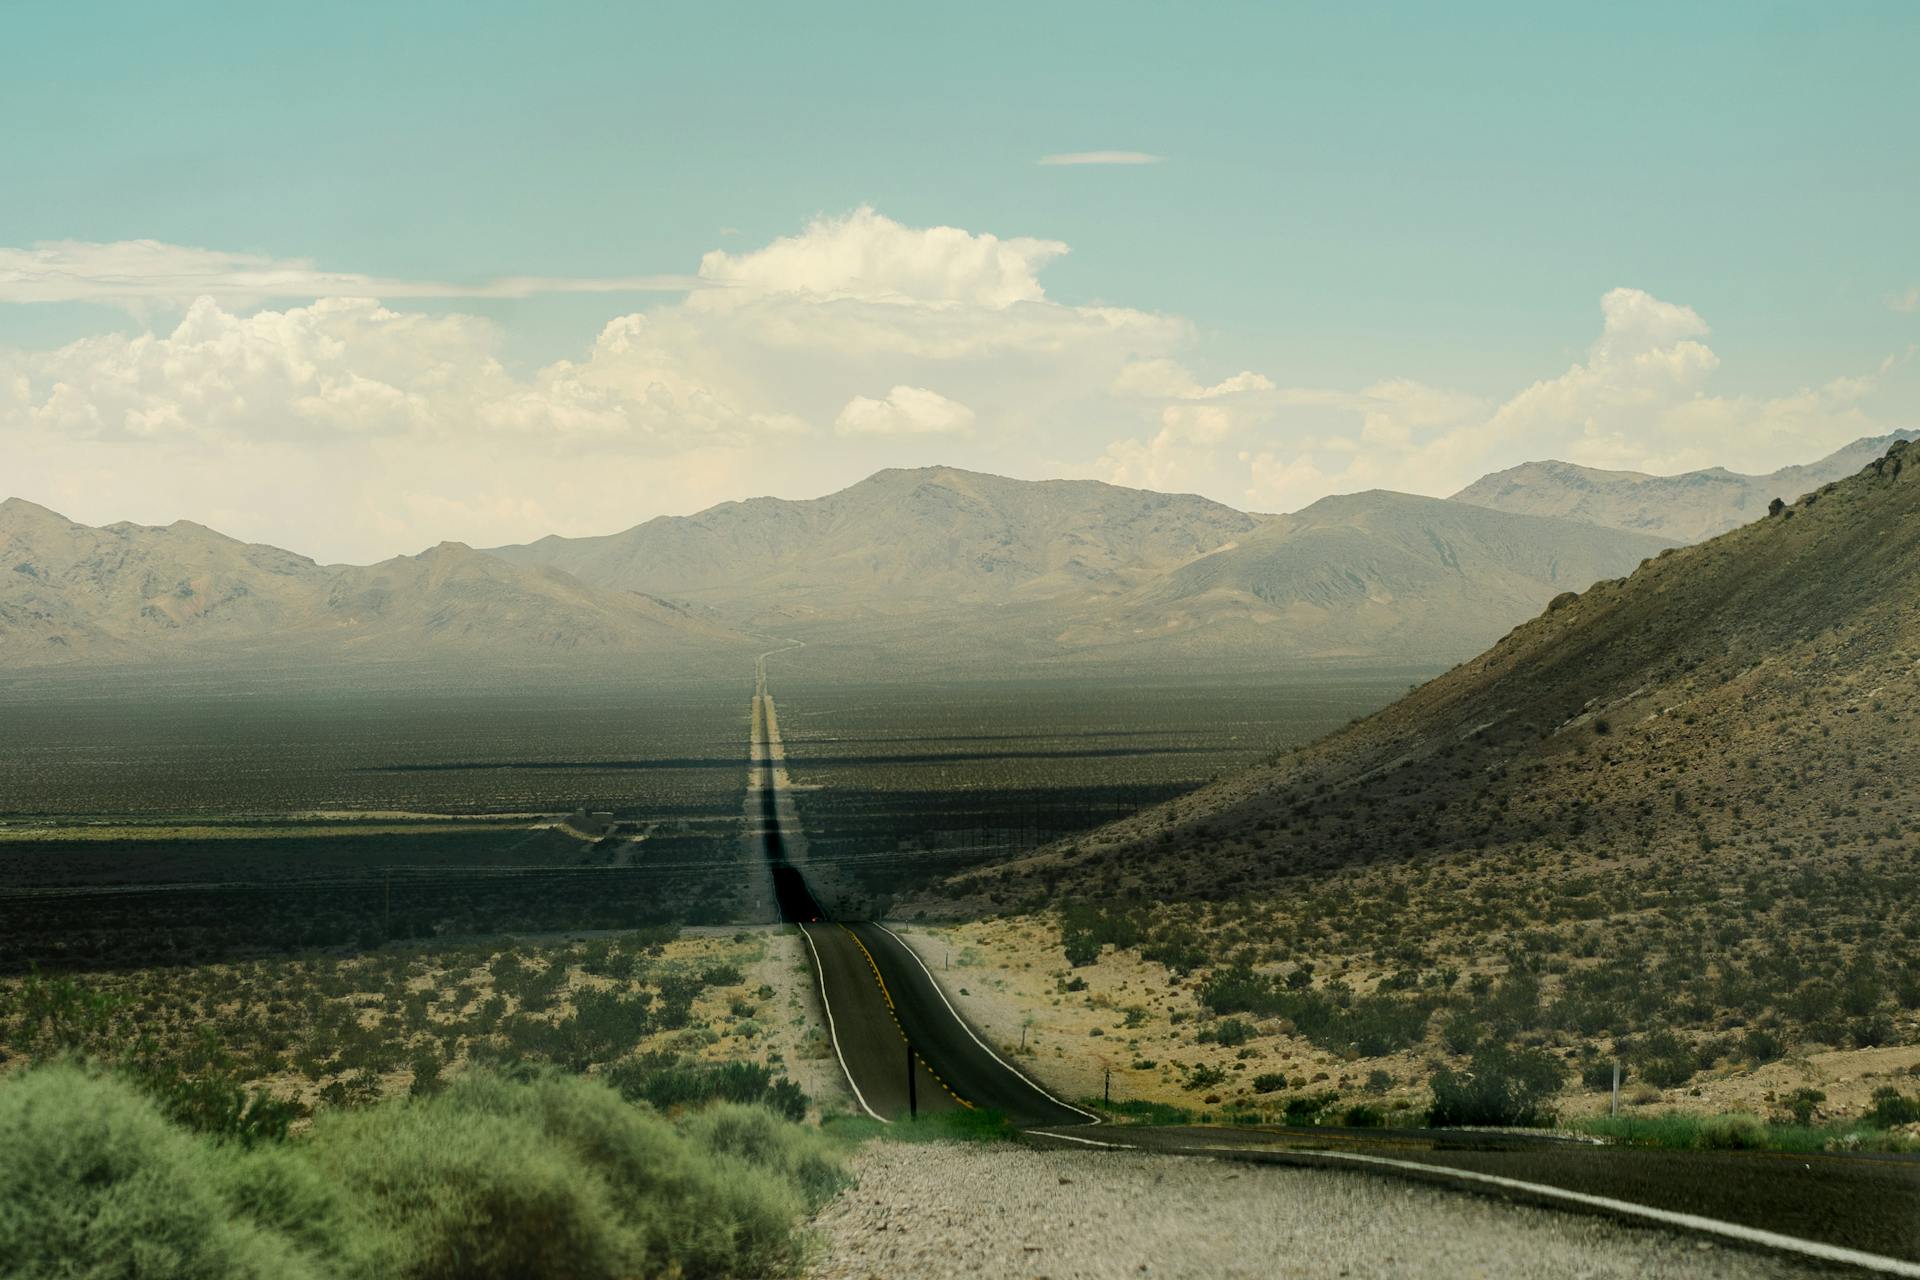

The image looks identical on screen because it is identical. Both halves have the same 3000 x 2000 pixels and the same file size. Changing DPI does not sharpen, resample, or degrade anything. It rewrites the number that print software divides the pixel count by, so a 3000 pixel wide photo prints 41.7 inches wide at 72 DPI and 10 inches wide at 300 DPI. If you need a physically larger print at full quality you need more pixels, which is what the Image Resizer is for.
Change Image DPI Without Losing Any Quality
DPI, or dots per inch, is one of the most misunderstood numbers in imaging. It does not describe how sharp your image is or how many pixels it contains. It is a divisor stored in the file's metadata header that print software uses to work out physical size. The arithmetic is simple: print size in inches equals pixel count divided by DPI. A 3000 x 2000 photo prints 10 x 6.67 inches at 300 DPI and 41.7 x 27.8 inches at 72 DPI. The pixels never changed. Only the instruction about how densely to pack them did.
⚖DPI Change vs Image Resize
| Behaviour | DPI Change | Image Resize |
|---|---|---|
| Pixel data | Untouched | Rewritten |
| Re-compression | None | Yes, on JPG |
| Screen appearance | Identical | Larger or smaller |
| Print size | Changes | Changes |
| File size | Unchanged | Changes |
| Adds detail | Never | Never |
| Reversible | Fully | Lossy |
| Use when | A form demands 300 DPI | You need different pixels |
The distinction matters because the two operations are often confused, and picking the wrong one destroys quality for no reason. If an exam portal or print shop asks for 300 DPI, they usually mean the tag, and a DPI change is the correct and lossless answer. If you need a photo to physically print larger at full sharpness, no DPI setting will do it and you genuinely need more pixels, which means the Image Resizer. If you need a specific file size in kilobytes, neither operation is right and you want Resize to KB or Compress PNG.
🔍Where DPI Actually Lives in a File
This is the part that separates a DPI tool that works from one that appears broken, and it is worth understanding before you trust any tool with a print submission. A single JPEG can carry its resolution in three separate places at the same time, and different software reads them in different orders.
APP0 JFIF Segment
The classic JPEG density field, holding a units flag and X and Y density values. If your file has no JFIF segment, which is common on phone and camera photos, an 18 byte segment is inserted directly after the start marker.
APP1 EXIF Tags
XResolution, YResolution, and ResolutionUnit inside the TIFF structure that cameras write. Photoshop, InDesign, and many print RIPs read these before JFIF, so a tool that ignores them leaves the old value winning.
APP13 Photoshop Block
Photoshop writes its own resolution resource and prefers it over everything else. A file saved out of Photoshop will still open at the old DPI if only JFIF and EXIF were updated. This tool writes it too.
PNG pHYs and eXIf
PNG stores resolution as pixels per metre in a pHYs chunk, so 300 DPI becomes 11811. The chunk is rewritten with a recomputed checksum, or inserted before the image data if absent. Any eXIf chunk is updated as well.
If you have ever set 300 DPI in an online tool, opened the file in Photoshop, and still seen 72, this is why. Only one location was written and Photoshop read a different one. The formats and their metadata containers are documented publicly, and the MDN guide to image file types is a good starting point if you want to read further into how each format stores this information. Where a tag exists but cannot be located safely, this tool leaves it alone and tells you so in that file's status row, because an honest partial result beats a corrupted file.
✨Key Benefits
Zero Quality Loss
No canvas, no decode, no re-encode. The pixel data is copied through byte for byte, which is impossible to achieve with any tool that redraws your image before saving it.
Print Size Before You Commit
See exactly what each file will print at in inches and millimetres before you press the button, so a 300 DPI setting never surprises you with a postage stamp.
Batch Up to 100 Files
Process a whole folder at once and download everything as a single ZIP. Unsupported files get their own clear error row instead of being silently skipped.
Nothing Leaves Your Device
Every byte is read and written in your browser. There is no upload step, which matters when the file is an identity document photo or an unpublished client image.
✅What This Tool Does
- ✓Writes JPEG
APP0JFIF density, inserting the segment if the file has none - ✓Updates EXIF
XResolution,YResolution, andResolutionUnitwhen present - ✓Respects TIFF byte order, so Canon and Nikon big-endian files are handled correctly
- ✓Rewrites the Photoshop
8BIMresolution resource that Photoshop reads first - ✓Writes PNG
pHYsin pixels per metre with a recomputed CRC checksum - ✓Inserts
pHYsbefore the first image chunk when the file has none - ✓Presets at 72, 96, 150, 300, and 600, plus any custom value from 1 to 4000
- ✓Live print size in inches and millimetres, updated as you change the target
- ✓Warns when the result would print under two inches on the long edge
- ✓Names every tag it wrote in each file's status row, including anything skipped
📝Step by Step
- Load your JPG or PNG files Drag them onto the drop zone or use the import menu for a URL, Google Drive, or Dropbox. Each file's current DPI and print size appear as soon as its header is read. Files that carry no DPI tag show what they would print at under the common 72 DPI assumption.
- Choose your target DPI Pick a preset or select Custom and type any whole number from 1 to 4000. Values above 4000 are clamped, since no print device resolves beyond that. The print size readout on every file updates immediately.
- Read the new print size Check the millimetre figure against whatever specification you are working to. If an amber warning appears, the file will print under two inches on its long edge, which usually means you want the Image Resizer instead.
- Change and download Press Change DPI. Each row reports which tags were written. Download files individually or take the whole batch as a ZIP. Re-run All applies a new target to everything already loaded.
⚙Technical Notes and Limits
The pixel data is bit for bit identical, always. The overall file is identical too when a tag already existed and was rewritten in place. When a tag was missing and had to be inserted, the file grows by 18 bytes for JPEG or 21 bytes for PNG. That is the tag itself. No image data is touched in either case.
These are the two formats carrying a DPI tag that print software reliably honours. WebP resolution metadata is not dependably read by print pipelines, so supporting it would create files that appear correct and then fail. Convert first with WebP to JPG or TIFF to JPG.
Browsers and most screen viewers ignore it entirely, displaying pixel for pixel regardless of the tag. Word, Photoshop, InDesign, and print drivers honour it. So a file that looks unchanged in your image viewer can still place correctly in a print layout, which is the expected outcome.
Portals change their DPI, dimension, and file size rules per cycle and per department, and we are not affiliated with any of them. Always check the current official notification before submitting. A tool that promises a permanently correct preset for a government form is promising something it cannot know.
🎯Common Use Cases
Print shop submissions. A press or photo lab asks for 300 DPI artwork. Set the tag and the file places at the intended physical size in their layout software rather than four times too large.
Exam and application portals. Forms often specify DPI alongside dimensions and file size. Pair this with Resize to KB and Crop Image to hit every requirement without repeated re-compression.
Fine art and archival prints. Giclee work is commonly tagged at 600 DPI. Because nothing is re-encoded, you can tag a master file for print and keep the original untouched for other uses.
Fixing files that open at the wrong size. A scan that lands in a document at the wrong scale usually has a stale or missing DPI tag rather than a pixel problem. Check it first with the DPI Checker.
🔧Related Image Tools
Change actual pixel dimensions 🔍DPI Checker
Read DPI without changing it ✂Crop Image
Trim to the framing you want 📐Aspect Ratio
Work out proportional sizes 📈Resize to KB
Hit an exact file size target ℹImage Info
Inspect full file properties 📷EXIF Viewer
Read camera metadata 🔄All Converters
Every format conversion
From Exam Forms to Fine Art Prints
Whether you are meeting a portal requirement, preparing artwork for a press, or fixing a scan that lands at the wrong size, changing DPI should never cost you image quality.
Frequently Asked Questions
Does changing DPI reduce image quality?
▼No. This tool never decodes your image or redraws it on a canvas. It reads the raw bytes, rewrites the metadata header, and writes the bytes back out. The pixel data is copied through bit for bit, so nothing is re-compressed. Tools that route your photo through a canvas re-encode it every time, which loses quality on JPG even when the DPI is the only thing you asked to change.
Why does my image look exactly the same afterwards?
▼Because it is the same. DPI does not affect how an image displays on screen, and browsers and image viewers ignore the tag entirely. It only tells print software how densely to pack the pixels on paper. An unchanged screen appearance is the correct result and confirms the tool worked properly rather than resampling your image behind your back.
I set 300 DPI in another tool but Photoshop still shows 72. Why?
▼That tool almost certainly wrote only the JFIF density field. A JPEG can hold resolution in three places at once, and Photoshop reads its own resource block first, then EXIF, before falling back to JFIF. If the others still say 72, that is what you see. This tool writes every location your file actually carries, which is why the result holds up in Photoshop and InDesign.
Will 300 DPI make my small image print well?
▼No. DPI does not add pixels, it divides the ones you have. A 600 x 400 image at 300 DPI prints at 2 x 1.3 inches, sharp but tiny. Raising the DPI makes the print smaller, not better. If you need a physically larger print you need more pixels, and the Image Resizer can enlarge the file, though no tool can invent detail that the camera never captured.
Are my images uploaded anywhere?
▼No. Every byte is read and rewritten inside your browser using local JavaScript. There is no upload step, no server processing, and no storage of any kind. The tool keeps working after the page has loaded even without a connection. This matters when the file is an identity document photo or unpublished client work that should never touch a third party server.
Why are only JPG and PNG supported?
▼They are the only two common formats carrying a DPI tag that print software reliably honours. WebP resolution metadata is not dependably read by print pipelines, and GIF has no DPI concept at all. Supporting them would produce files that look correct and then fail at the press. If you drop an unsupported file, you get a clear error row and a link to convert it first.
What DPI should I use?
▼Use 300 for general print work, which is the long-standing commercial standard. Choose 600 for fine art, giclee, and archival printing. Pick 150 for drafts and internal proofs where speed matters more than fidelity. Use 72 or 96 only for screen-era defaults or when a system specifically asks for them. When a form states a figure, follow the form.
Does the file size change?
▼Essentially no. If your file already carried a DPI tag it is rewritten in place and the size is identical. If the tag was missing it has to be inserted, which adds 18 bytes to a JPEG or 21 bytes to a PNG. That is the tag itself and nothing else. If you need to hit a specific file size target, use Resize to KB or one of the compression tools instead.
Can I change DPI for many images at once?
▼Yes. Load up to 100 files per batch, each up to 100MB. Every file shows its own current and new print size, and every file gets its own status row naming the tags that were written. Download them individually or take the whole batch as a single ZIP. Re-run All applies a different target DPI to everything already loaded without re-importing.
What does the amber print size warning mean?
▼It appears when your chosen DPI would make the file print under two inches on its long edge. That usually signals a mismatch between what you want and what DPI can do, because the image simply has too few pixels for the print size you have in mind. The fix is more pixels rather than a different tag, so the warning points you toward the Image Resizer.
Is 300 DPI correct for government and exam forms?
▼Often, but never assume it. Portals change their DPI, dimension, and file size requirements per cycle and per department, and we are not affiliated with any of them. Always read the current official notification for the specific form you are filling. Any tool claiming a permanently correct preset for a government form is promising certainty it cannot have.
Other Tool Categories
Image Tools
Convert, compress, resize, and inspect images entirely in your browser.
Salary Calculators
Work out take-home pay, tax, and deductions with current Indian slabs.
Unit Converters
Length, area, weight, temperature, and every other measurement type.
Text Tools
Count, format, clean, and transform text without leaving your browser.
Change DPI Without Losing a Pixel
Set 300, 600, or any DPI on JPG and PNG files. Every metadata location written, nothing re-compressed, nothing uploaded.
Open the DPI Changer